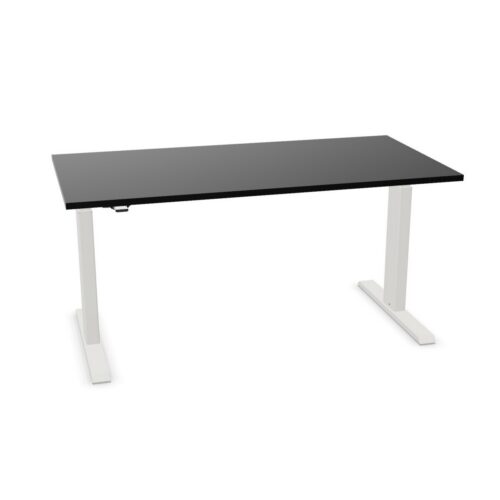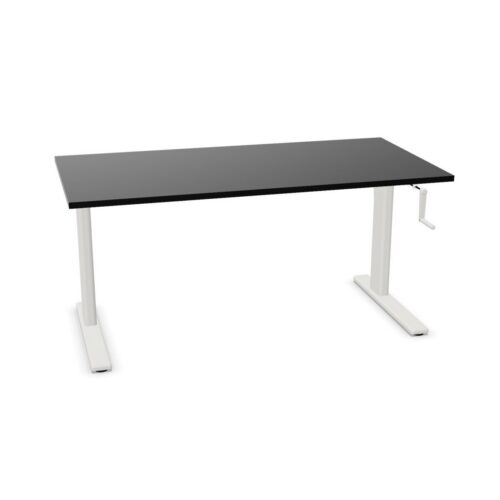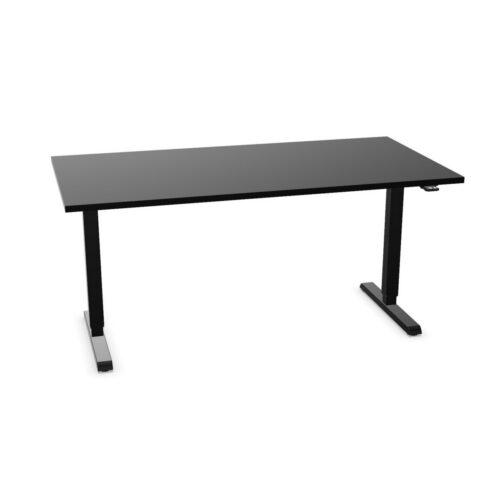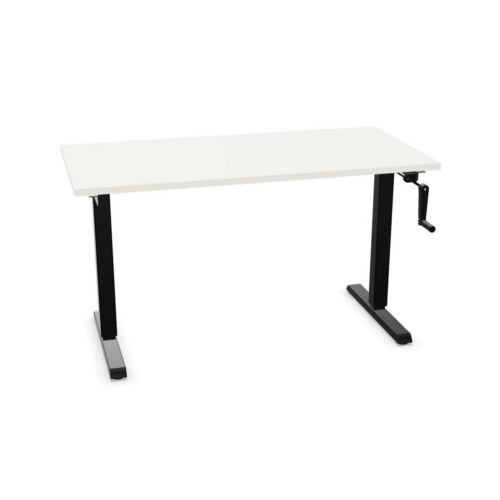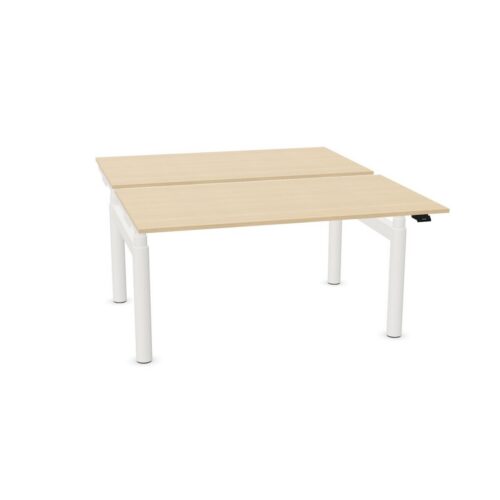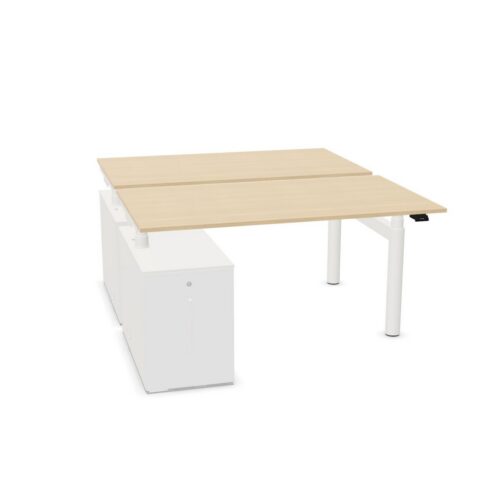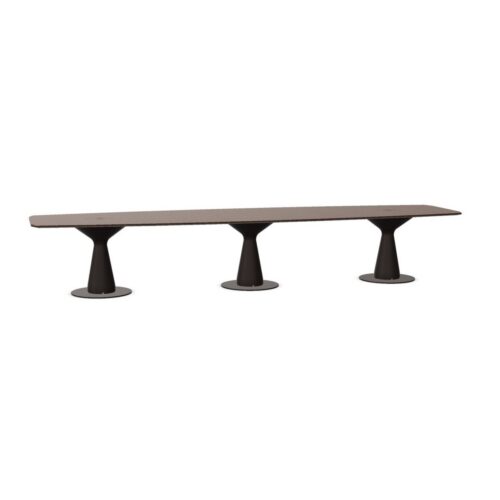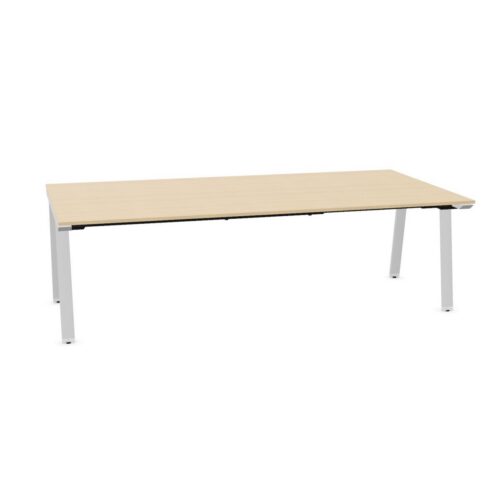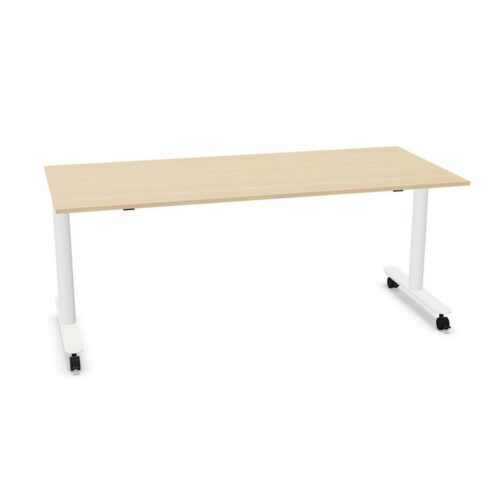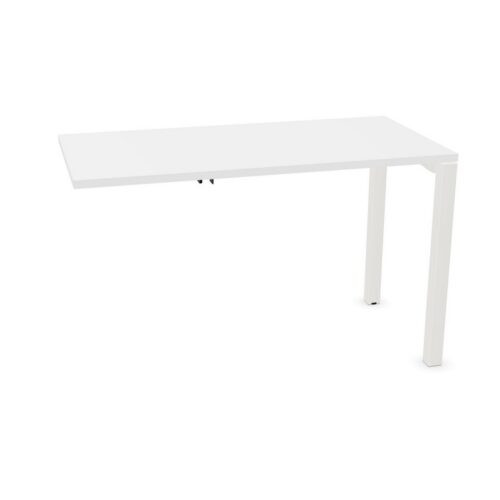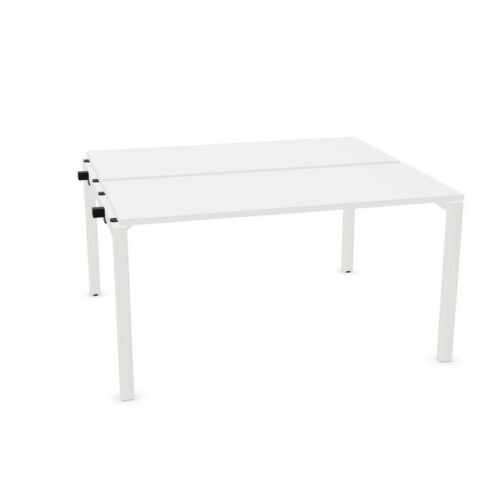


Desks with an included cable tray provide a defined place beneath the work surface for some of the leads and power components used at a workstation. The tray can help keep the floor and leg area clearer, but its capacity and position depend on the selected desk. This group includes individual, height-adjustable and bench desks as well as meeting tables. The right cable plan begins with the equipment and the people using it.
Identify what the tray holds
A tray might carry loose leads, a power strip or other approved components. Check its dimensions, loading guidance and access before assigning equipment to it. Some trays open or hinge for maintenance, while others are fixed. The installation instructions for the exact product establish how it should be used.
Desks with an included cable tray can still need grommets, clips or a route down to the outlet. The tray organizes a portion of the cable path; it does not create power by itself. Trace each connection from device to supply so no lead hangs across a walkway or becomes difficult to reach.
Keep the workstation usable
Place screens, input devices and lamps where they work for the user, then route their cables toward the tray. Avoid letting cable management dictate an awkward equipment layout. Check that knees and feet remain clear beneath the desk and that the tray does not conflict with a drawer or under-desk storage.
For an individual desk, access from one side may be enough. In a shared bench, more than one user may need to add or change devices. Decide how each station’s leads are separated and where support staff can reach them without disturbing neighbouring work.
Allow height adjustment
On an electric or manually adjustable desk, the tray often moves with the top. Confirm the path of the power lead and any connections that continue to the floor. Test them at the desk’s useful low and high positions. Leave slack for movement without creating loops that can catch on the frame.
Desks with an included cable tray should be checked against monitor arms and other attached accessories. The tray, frame and mounting points may compete for space beneath or behind the top. Consider the full load carried by the desk and follow the product’s mounting guidance.
Treat meeting tables as shared equipment
A conference table can concentrate display connections, charging and presentation devices. Decide what participants should access on the surface and what can remain beneath it. A tray may help route shared cables, but outlets and openings must still be placed where people can use them without crossing the table with leads.
For modular tables, consider whether sections will be separated. A cable tray on each unit may remain practical when layouts change, while a route that bridges tables can limit flexibility. Plan how connections will be unplugged and restored as the room changes.
Check maintenance access
Cable arrangements change as devices are replaced. Make sure the tray can be opened or reached after the desk is installed, with chairs, screens and storage in place. Grouping or labeling leads can help identify them later. Avoid packing the tray so tightly that adding or removing one cable becomes difficult.
Desks with an included cable tray may be supplied with different tray shapes or positions across a product family. Confirm the selected configuration rather than assuming a photographed accessory belongs to every version. Note its finish if the underside of the desk is visible in the room.
Complete the cable path
Inspect the route at the desk edge, beneath the top and down to the floor or wall. Check for sharp bends, moving parts and areas where feet or cleaning tools may contact cables. A tidy tray is only one part of a safe and serviceable workstation.
Choose desks with an included cable tray when the supplied component suits the devices, frame and room layout. Confirm access, load and movement, then plan the remaining connections. The result should make equipment easier to use and maintain without crowding the working position.